Wednesday, October 27, 2021

The Expressive Figure 10_28_2021


The Expressive Figure Assignment


Concept: Gestural Movement and
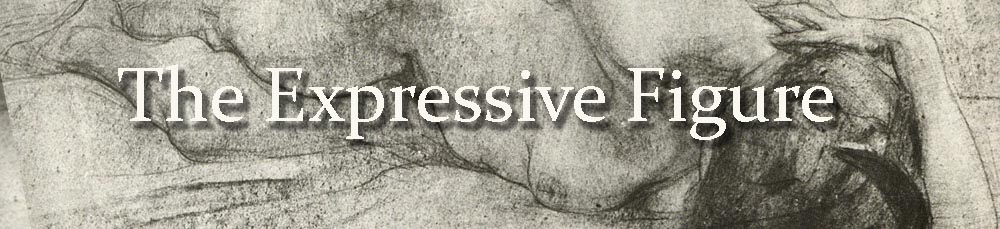
Lost Edges 


Materials:

Materials
  •        Vine or Willow Jumbo Charcoal, Graphite lead, ball point pen
  •         90 lb drawing paper 12" x 19" or similar sketchbook
  •        Faber-Castell Kneaded Eraser


Starting with Vine or Willow Charcoal, quickly sketch draw a gestural mannikin of the pose with the emphasis on proportions and action. This should take fifteen seconds or less.
With the template of the mannikin as a guide, scribble a gestural tangle of lines to describe the volumetric mass of the torso, emphasizing the peanut shape of the thorax and pelvis.  As you move out to the limbs, visualize them as cylinders: adapt your lines to wind around these cylindrical volumes, like a helix.

Edges of the Figure

Conceptualizing the volume of space that a figure occupies is key to understanding how to calibrate the pressure that our hand applies to the charcoal or drawing media when drawing edges. One precept is that fuzzy and sharp edges are a result of the two overlapping cones of our eyes which are aligned along a horizontal axis. Correspondingly vertical edges appear slightly out of focus because of two different focal points on this axis. In addition, horizontal edges, which are parallel with the axis, are more in focus and hence, sharper. This technique is helpful in that it acknowledges the turning planes of a form as the volume recedes back into space. These turning planes advance and recede with found and lost lines, as muscle tissue and ligaments “spiral” around the cylindrical forms of the bones. Learning how to visualize the occupancy of space of these cylinders and how they hinge and the constraints of their movements, allow us to construct a mental holographic simulation of a moving figure in space. This is the template that your brain will project on any surface and you have free reign to apply any form of media on this projection.


Draw at least three poses emphasizing the "wrapping" of the cylindrical masses of the torso and limbs. - more if you feel so inclined.


Thursday, October 14, 2021

The Expressive Figure 10_14_2021


The Expressive Figure Assignment


Concept: Lost Edges and Turning Plane


Materials:

Technique One
  •        Vine or Willow Jumbo Charcoal
  •         90 lb drawing paper 12" x 19" or similar
  •        Faber-Castell Kneaded Eraser"


Starting with Vine or Willow Charcoal, lightly draw a gestural mannikin of the pose with the emphasis on proportions and action.
With the template of the manniken as a guide, scribble a dense tangle of lines to describe the mass of the figure, gradually decreasing the pressure and density as you move out to the edges. 
To explore the lost edges, draw another figure with a gestural manniken very lightly to function as a template as described before. This time create a contour line that describes the edges of the figure. Then, using an eraser or simply by smudging, calibrate edges to be either lost or found, based on if that form turns toward you or away.
For a couples/Shunga exercise, draw two figures together, either with arms wrapped around each other or touching., with specual emphasis on how the figures arma/limbs are decribing the occupancy of space of the other.
Draw at least three poses using either technique - more if you feel so inclined.


Wednesday, October 6, 2021

The Expressive Figure 10_7_2021

The Expressive Figure Assignment


Concept: Overlapping Contour Drawing


Materials:

Technique One
  •        Vine or Willow Jumbo Charcoal
  •         90 lb drawing paper 12" x 19" or similar
  •        Faber-Castell Kneaded Eraser"
Technique Two
  •       Chinese Ink: Dilute and full stremgth
  •        90 lb drawing paper 12" x 19" or similar
  •       Reed Pen


Starting with Vine or Willow Charcoal, lightly draw a gestural manniken of the pose with the emphasis on proportions and action.
Then,  begin a contour drawing around the perimeter of the manniken , being sure to apply passage' ( applying and releasing pressure) to emphasize which forms are in front and which are behind. When drawing foreshortened limbs ,start with those forms that are furthest back and then overlap those forms that are in the foreground. Utilize concentrics to describe open arcs.
The two dilutions of ink in Technique Two, allow us to describe forms further back with dilute ink and those forms in front with full strength ink. A form of Aerial perspective.
Draw at least three poses using either technique - more if you feel so inclined.